【Unity】OnCollision/Triggerで接触したオブジェクトの親を取得する方法【超簡単】
shiro-changelife
シロウブログ「change life」


こんにちは、シロウです。
今回はタイトル通り、下記のような『Buttonを使ってScene(シーン)遷移する方法』を画像付きでわかりやすく解説していきます。

それでは早速ですが、みていきましょう!
まずはSceneを二つ用意しましょう。
今回は『A』と『B』のSceneを用意しました。
シーンを二つ用意したらそれらのシーンを登録していきます。
まずは【File】をクリックして【Build Settings】を選択してください。
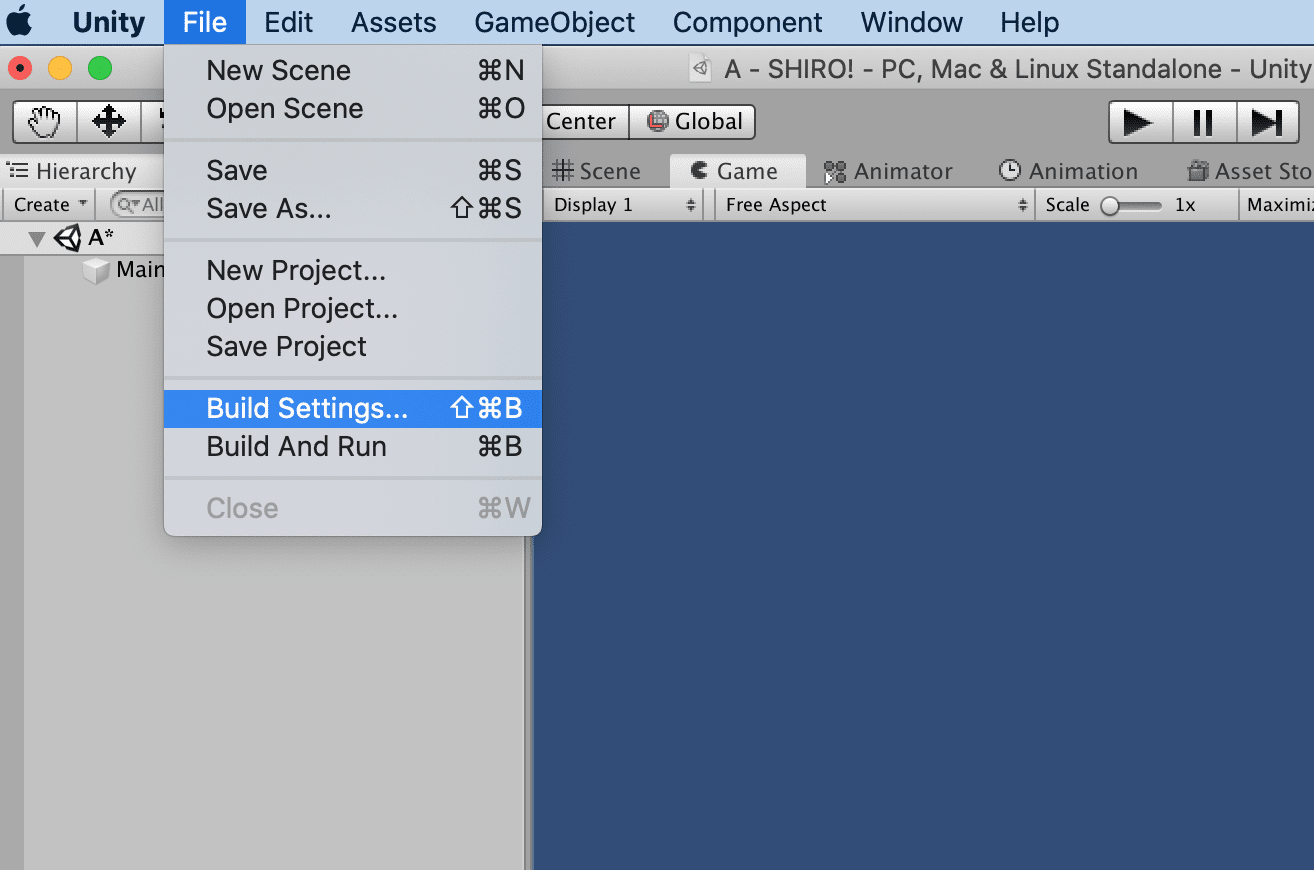
そして次に先ほど作成したScene二つをドラッグ&ドロップで追加します。(下記GIFの画質がわるくてすいませんm(_ _)m)
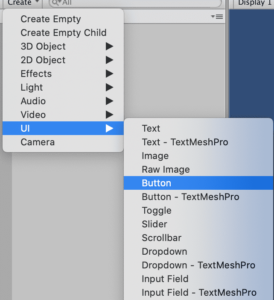
次にButtonを作成します。
Hierarchie(ヒエラルキー)上で【Create】>【UI】>【Button】の順にクリックしてください。
Buttonを追加すると【Canvas】と【Event System】も自動で追加されます。
*削除しないように注意。
作業をやりやすくするためにヒエラルキー上で【Canvas】を選択して、Inspector上の【Screen Space – Overlay】>【Screen Space – Camera】の順にクリック。
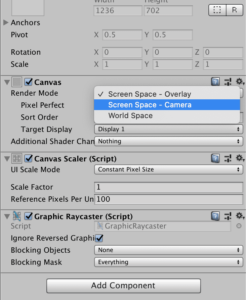
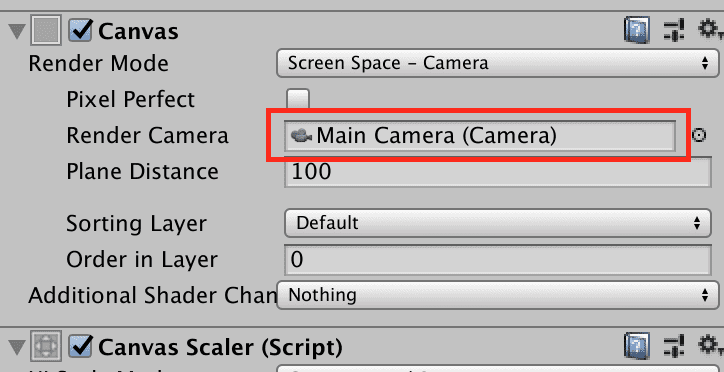
そして【Render Camera】に【Main Camera】をアタッチしてください。
これで見やすくなりましたね。
次にスクリプトにScene遷移させるためのコードを書いていきます。
Projectウインドウ上で【Create】>【C# Script】をクリック。
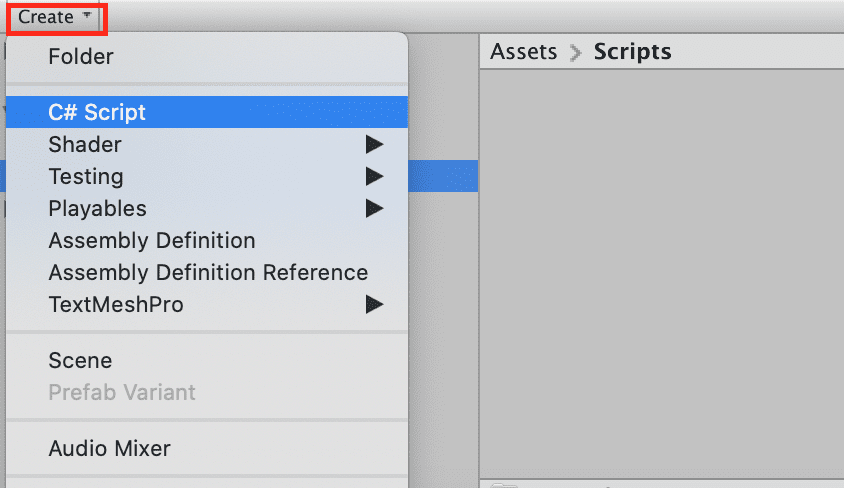
スクリプト名は『SceneController』としておきましょう。(大抵の人はシーン遷移のスクリプトはこの名前にしているっぽいです。)
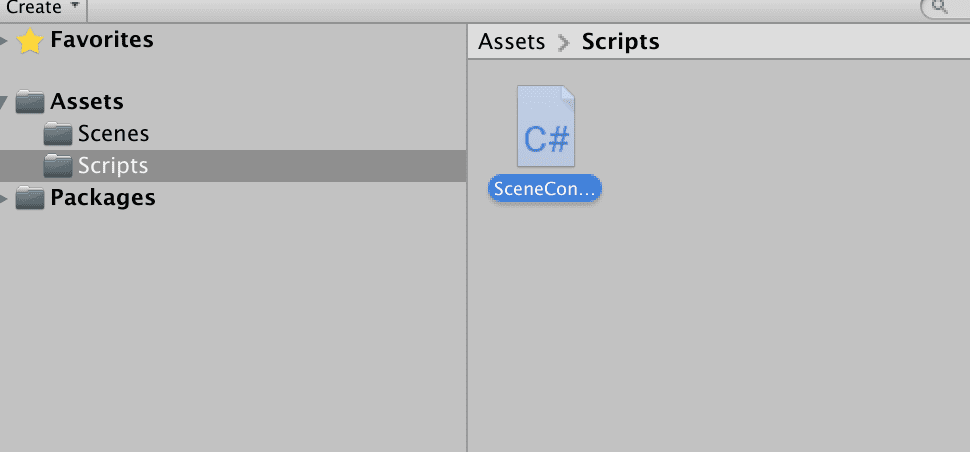
先ほど作成したスクリプトをダブルクリックして、エディタ(コードを書く場所)を開いて、そこに下記のスクリプトを記述します。
using System.Collections;
using System.Collections.Generic;
using UnityEngine;

using UnityEngine.UI;   //ボタンを使用するのでUI
using UnityEngine.SceneManagement;//SceneManagerを使用ためSceneManagementを追加

public class SceneController : MonoBehaviour
{

    // ボタンをクリックするとScene『B』に移動
    public void ButtonClick()
    {
        SceneManager.LoadScene("B");
    }
}SceneManager.LoadScene(“B”);で遷移先を決定しています。
(””)の中に遷移したいScene名を指定することで、指定されたSceneに遷移できるようになります。
『ButtonClick』は自分がわかれば他の名前でもOKです。
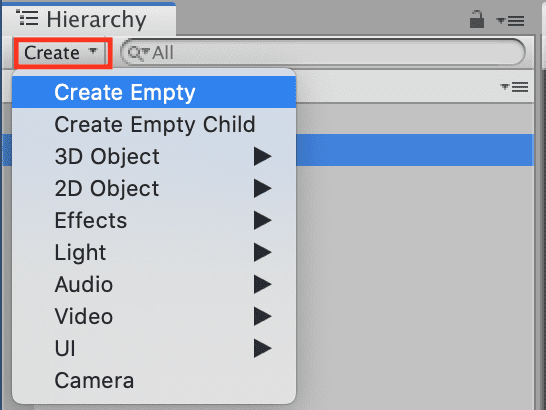
次に今コードを記述した『SceneController』スクリプトをアタッチするための空のオブジェクトを作成します。
Hierarchy上で【Create】>【Create Empty】の順にクリックして、空のオブジェクトを作成してください。(名前は自分がわかりやすいように付けてください。今回は『』)
空のオブジェクトが作成できたら、『SceneController』スクリプトをドラッグ&ドロップして空のオブジェクトにアタッチしてください。
hierarchy上の【Button】を選択 > Inspector上の【On Click】の『+』をクリック > さっき作成したオブジェクトをアタッチ >【SceneController】から【ButtonClicke()】を選択
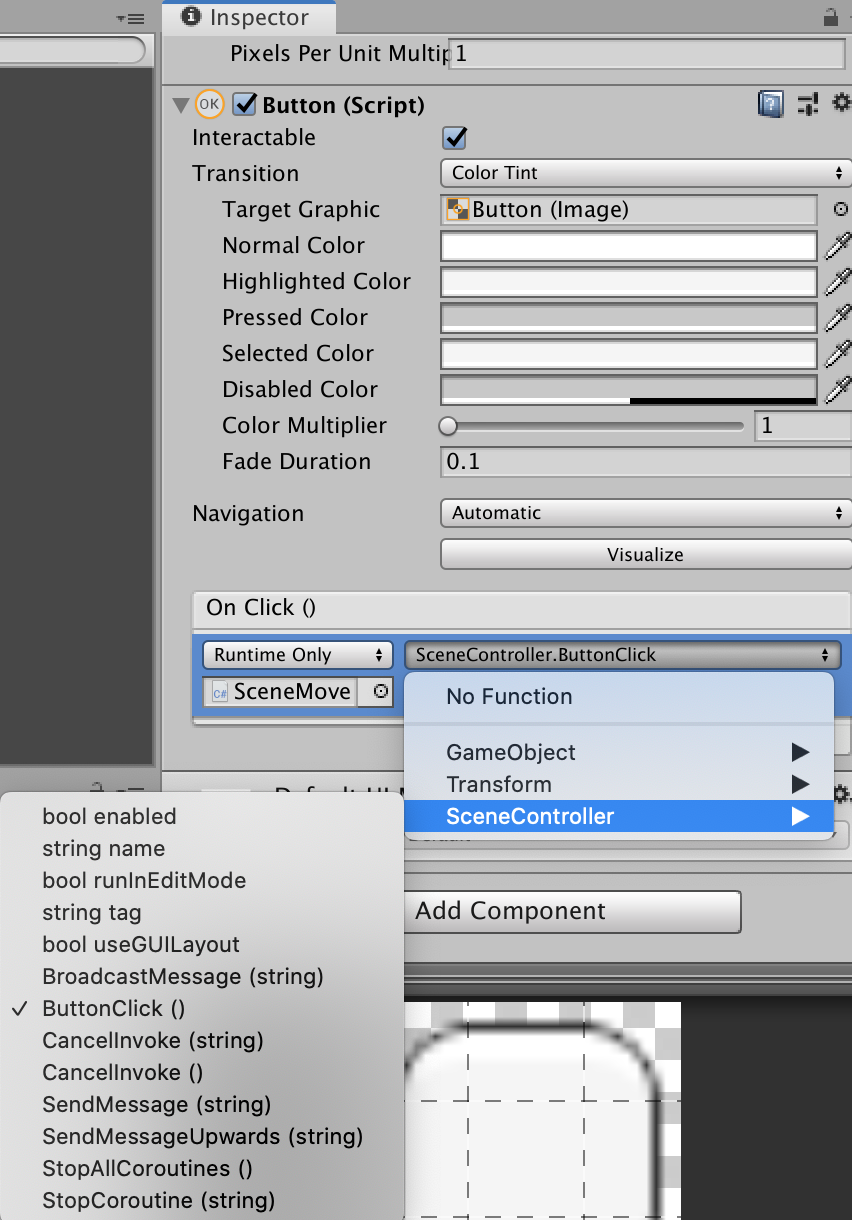
これで完成です。
うん、慣れれば3分ぐらいでできちゃう簡単作業でした٩( ‘ω’ )و